Raw Goji Ripe Bars

Goji Ripe Bars
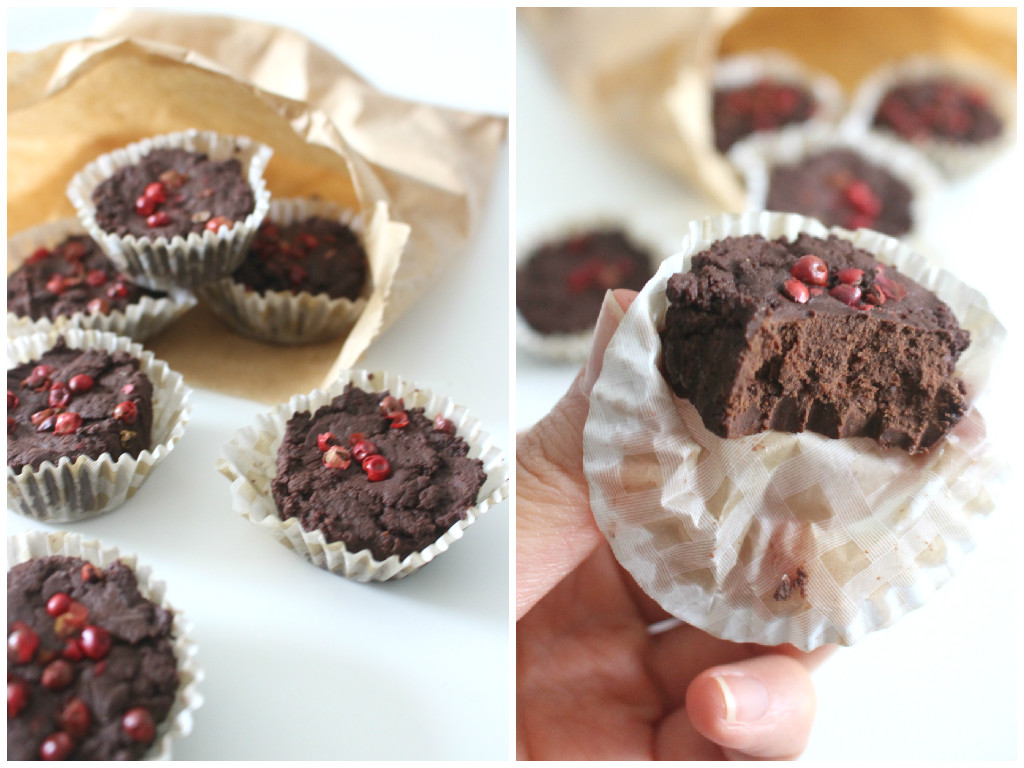
I had such a determination after a daily consume of baked goods like homemade muffins and cakes for months. It’s time I had something different like porridge, smoothie, fruit bowl or something. Then all sense of discipline melts away next day. I just admit I cannot live without them because of a joy of making them plus utterly fabulous taste after a bite. Oh well, at least I make them healthy. It is okay, right? I had to share these raw snack bars with you because they are incredibly delicious and healthy for you. I have tried a packet of cherry ripe in the past (it tastes like SUGAR) and wanted to recreate the same flavour with natural ingredients. Base has beautiful cinnamon and sweet dates. I used dried goji berries and turmeric powder in the filling mixture which are packed with anti-oxidants and anti-inflammatory components. My cravings are well taken care of. Knowing that there is no nasty sugar in them allows me to go ahead, free from pangs of guilt. Raw desserts seem so hard to make, but trust me! It is easy to make and is kept very well in the freezer. Only downfall of this recipe is you have to resist the urge to devour all of them at once. Enjoy x

Ingredients (makes 10 bite sizes)

Base

2/3 cup walnut
4-5 Medijool dates
30g cacao powder
1 tbsp raw honey
1 tbsp coconut oil, melted
1 tsp cinnamon powder
a pinch of sea salt

Filling

50g goji berries, soaked in warn water and drained
50g vanilla protein powder
1 tbsp desiccated coconut
1/2 tsp turmeric powder
1 tsp vanilla extract
1 tbsp coconut oil, melted
a pinch of sea salt

Icing

2 tbsp coconut oil, melted
1 tsp cacao powder

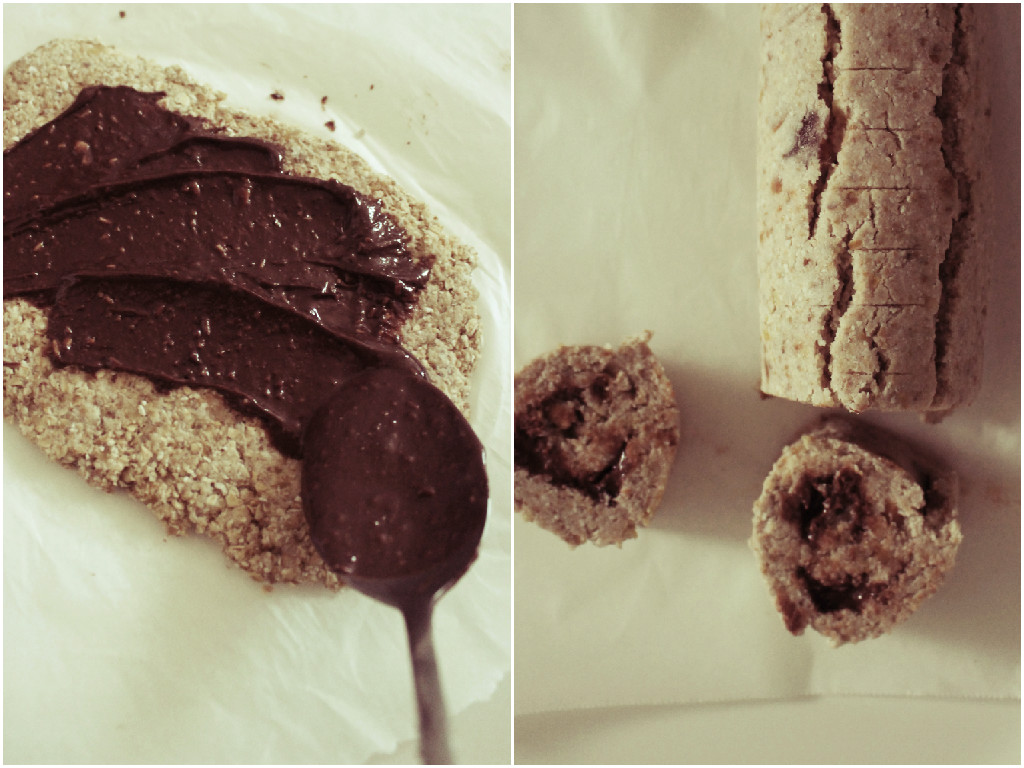
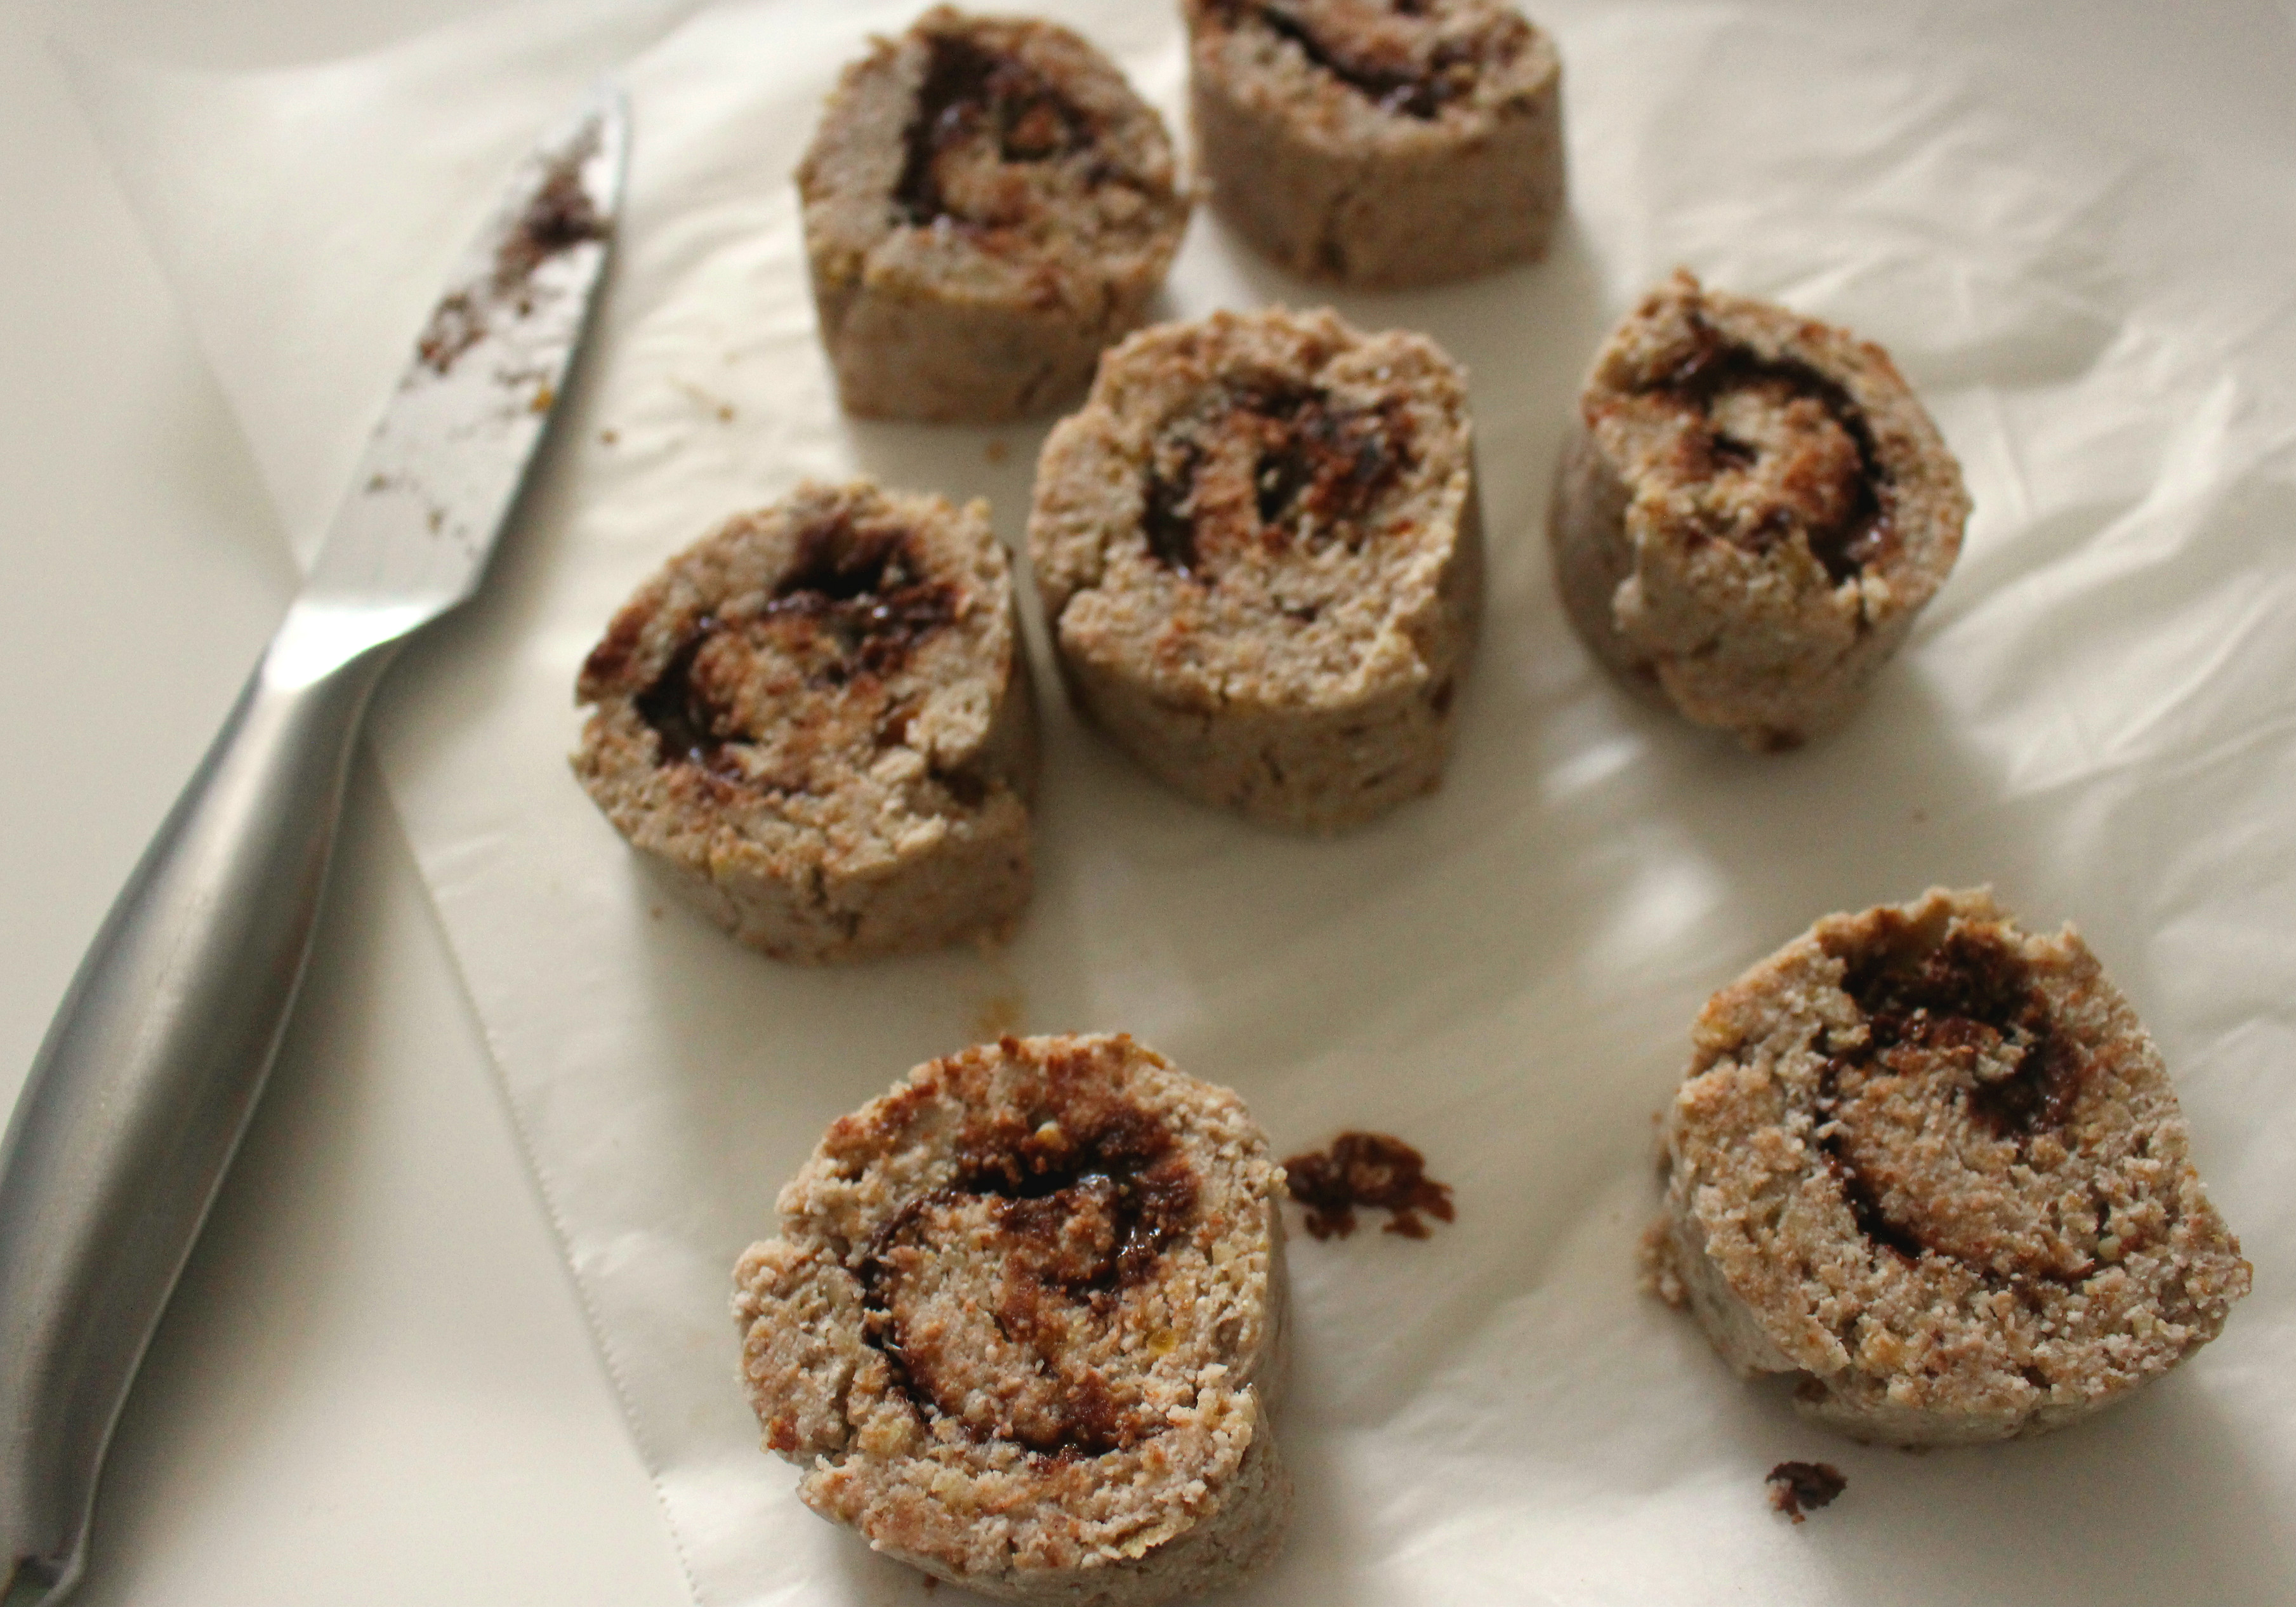
As preparation, line a container (20cm x 10cm) with a baking paper or Glad wrap. Place all the base ingredients in a food processor and blitz until the mixture comes together. Add a bit of water if too dry. Transfer the mixture into a prepared tin and press down with the back of spoon or spatula. Place in freezer while making fillings. Blend all filling ingredients in a food processor and pour the mixture on top of the base. Press down, smooth the top and place in freezer. For icing, mix melted coconut oil and cacao powder in a small bowl. Pour over the filling and set in freezer for a couple of hours. Take it out of freezer about 10 minutes before cutting into little squares and keep them in freezer.

Healthy Chocolate Cups with Pink Peppercorns

Christmas and this time of the year to me is all about reflecting on what has been happening in your life and planning for the new coming year. Yes, just a quite one. We walk around the streets full of bright lights and carols and look around window displays, maybe snow too. I think I enjoy the excitement and anticipation more than Christmas day itself. That is how my family ‘celebrates’ Christmas, not a kind of tradition having to cook a giant turkey or mountains of foods in an utterly chaotic kitchen. Don’t get me wrong, I like a celebratory Christmas feast, too. Anyhow, I made a little Christmas treat here (excuse my love affair with making sumptuous desserts at the moment). Cacao is rich and bitter sweet and pink peppercorns add a bit of spicy savoury yuminess. Total deliciousness full of antioxidant and mood enhancer without refined sugar or dairy. This is real clean eating 🙂 Keep them in your freezer for hungry emergencies or sweet craving moments. Enjoy and I hope you all are having a great time with your family and loved ones x

homemade chocolateIngredients (makes 8 mini cups)

3 tbsp coconut oil, melted
2 tbsp raw cacao powder
2 tbsp almond ground
1-2 tsp honey or any of your favorite sweetener
1 tsp cinnamon powder
1/2 tsp vanilla powder
a pinch of sea salt
a bit of water
pink peppercorns

Combine all ingredients in a bowl until smooth. Add a bit of water if too dry. Spoon the mixture into little molds and top with pink peppercorns. Chill in the freezer and serve cold.


GF Vanilla Crepe Cake

vanilla crepe cakeWhile the not-too-sweet breakfast muffins make me happy waking up hungry in the morning, I crave for something rich and decedent once in a while. This crepe cake is not only gluten-free and dairy-free, great if you have food sensitivities, but also deliciously light in texture by using brown rice flour. I insist healthy version doesn’t mean it sacrifices the flavour. A hint of cinnamon, saltiness and sweetness from salted caramel is heavenly. So I call this the glory of sweet breakfast cake 🙂 The cake is better to be pre-made and chilled in the fridge before serving, though you can also serve warm straight away. Just roll them up or fold twice like you would serve crepes. You can also see my other crepe recipes here and here.

Ingredients (makes one serve as picture shown)

1 egg
100g brown rice flour
1 tbsp coconut sugar
1 tsp vanilla extract
1/2 tsp cinnamon powder
2/3 cup almond milk
a pinch of sea salt
coconut oil for making crepes
salted caramel for filling
cinnamon powder for dusting

Lightly beat egg with a whisk and then add all other ingredients. Set aside for 10-20 minutes. Mixture should be fairly runny. Add a bit of almond milk if too thick. Heat a crepe pan or non-stick frying pan over low-medium heat. Add a dollop of coconut oil into a pan and ladle a crepe batter into the middle of the pan. Swirl the pan in a circular motion to spread the batter thin and evenly. It should take only a minute each side to cook. Repeat with the rest of the batter. I spread salted caramel between the layers and built the cake on a serving plate. (I used a jar of salted caramel that I bought from the farmer’s markets). Place in fridge for a couple of hours to set.vanilla crepe cake1


One Year of Blogging

rice cakeI woke up this morning thinking ‘I started this blog today last year’. Wow! one year of blogging. Thank you for visiting and reading my humble recipes and posts. Your visits, comments and feedback are so valuable and encouraging to me. I’m so grateful that this blog gave me an opportunity to cook healthy food, experiment new ingredients and recipes and share with you after all. My inner Koreaness kicked in when I was thinking of what to make for a special day, one year anniversary of blogging. You cannot go pass a cake on a special occasion, right? So to make the occasion, I decided to make Korean adzuki bean rice cake. As a child growing up in Korea, this festive cake was always on the table for big national holidays, birthdays and many family gatherings. I even remember I had to deliver plates of this cake to our new neighbors and say hello to them when my family moved into new house or apartment. That said, I’m not sure if they do that anymore since we live such a busy life these days. You don’t even know who lives next door and sadly don’t care much. Traditionally, it is a steamed cake with layers of glutenous white rice and adzuki bean filling. Naturally gluten-free and vegan. I’m making my own twist on the traditional recipe by adding coconut milk in the rice layer, cinnamon and cacao in the bean layer, but the spirit of the cake is still the same. Celebrating 🙂 To everyone who has followed me on this blogging journey, thank you xrice cake1

Raw Dessert Sushi

dessert sushiI got to admit I’m pretty addicted to raw desserts at the moment. Raw bliss balls, fudge, “cheese”cake, brownie, pudding. They are not only simple and fun to make but also packed with nutrition and goodness. This sweet sushi is actually not too sweet. I think soft gooey dates, peanut butter and cacao powder do the trick for me, but if you have a serious sweet tooth, feel free to add some coconut sugar or serve with a drizzle of honey. You can also be creative with fillings such as berry jams, nut butter, tahini or even banana. One or two with a cuppa is perfect snack during the day or dessert after dinner.
dessert sushi1
Ingredients (make one roll)

100g oats
5 walnuts
15g flaxmeal
4-5 Medijool dates, pitted and chopped
a pinch of sea salt
1 tbsp coconut oil, melted
1 tbsp water
1-2 tbsp peanut butter, melted
1 tbsp cacao powder
1/2 tsp cinnamon powder

To make a dough, place oats, flaxmeal and salt in a food processor and blitz until they are all grounded fine. Add chopped dates, melted coconut oil and water into a food processor and blitz again until combined. Pour the mixture into a large bowl and make a dough using your hands. Add a bit of water if the mixture is too dry. Place the dough on the centre of a baking paper and spread evenly to a rectangular shape. For filling, mix peanut butter, cacao powder and cinnamon powder in a bowl. Spread the filling on the dough except edges and then proceed to rolling. Keep the roll wrapped in a baking paper and place in freezer for 10-15 minutes to firm up. Take it out of freezer and slice them into little discs with a sharp knife.