Oven-Roasted Garlic

Roast Garlic

You can taste garlic in almost all Korean dishes. We love garlic, ginger and chillies. Yes, it leaves you a bad breath after eating them or even next day, but it’s a tasty addition to other dishes and has many medical properties.

  • Strong immune system: fight against chest infection, coughs and congestion. Great for colds and flu.
  • Cardiovascular system: helps to lower LDL (bad cholesterol) and regulate blood pressure
  • Anti-inflammatory benefits
  • Packed with vitamins and nutrients: Vitamin A, B, B2 and C, calcium, zinc and many others
  • Cancer prevention
  • Control of diabetes: regulates blood sugar
  • Anti-bacterial and anti-viral benefits
  • Weight control

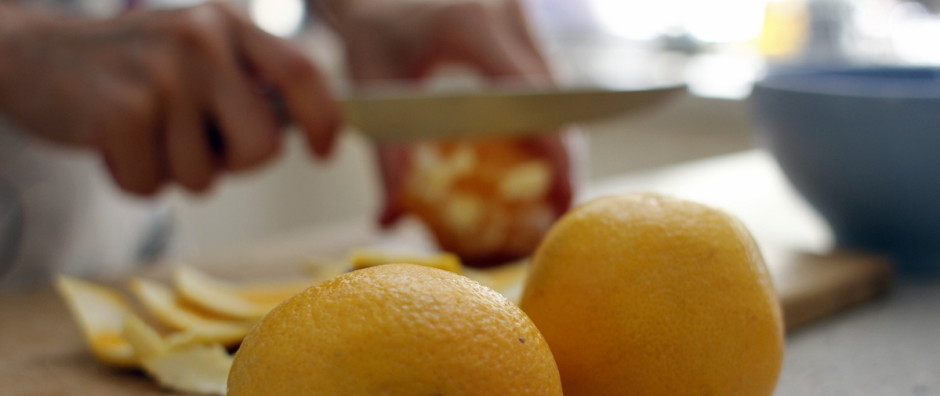
I bought a bunch of garlic from the local veggie market a couple of days ago. I use a garlic clove or two when I’m cooking, but there was no way I can finish 10 heads of garlic before it goes bad. So I decided to make some garlic pickles and roasted garlic. Peeling off these little guys can be tricky. Let me tell you I feel like I can still smell them in my fingers. An easy way is open up the cloves and put them in a bowl. Place the same size bowl on top to create a dome. Then vigorously shake them. Clean the peeled garlic in cold water with a squeeze of lemon.

To make garlic pickles, I peeled off about 5 heads of garlic. Rinse off any dirt or skin. Boil vinegar, water, peppercorns, bay leaves and dried chilli in a pot. Add garlic cloves into the pickling liquid for a few minutes. Then transfer to the steralised jar. Cool down and put it in the fridge. It should be ready to eat in a week or so.

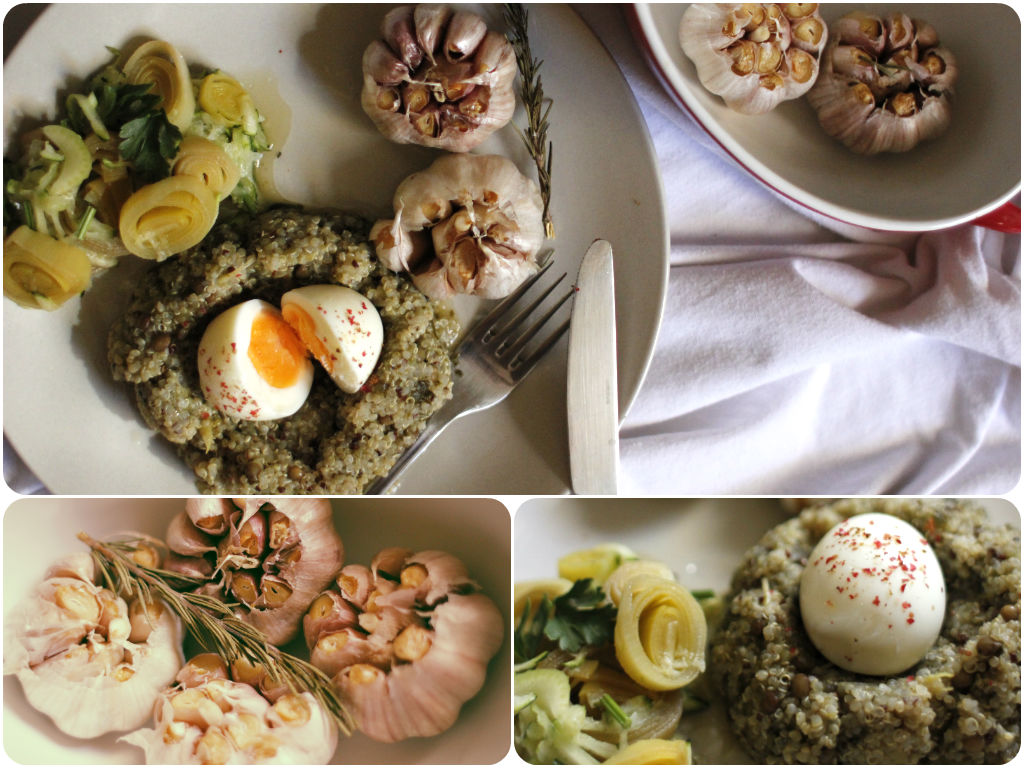
Then I made oven-roasted garlic with the remaining. Simply cut the top of the cloves with a sharp knife, Drizzle a couple of teaspoons of coconut oil and add a sprig of rosemary. Put it in the preheated oven (180) for about 40-50 minutes until the cloves are soft and tender. It smells amazing while cooking in the oven and tastes so beautiful and sweet. It just melts in your mouth. You can easily mash with a fork. Spread on the slice of bread, add to the potato mash, hummus and soup, or  eat just by itself.

Because I usually put my lunch in a bowl and eat (less dishes!), I don’t normally decorate my lunch plate unlike dinner that is more a shared affair. But looking at beautiful roasted garlic out of the oven, I had to make myself a pretty looking lunch today.  A semi-boiled egg on the quinoa nest, braised leeks and zucchini, and of course garlic on the side! Yum yum yum..

Why I burnt my arm today

We haven’t been to many picnics this summer. Too many hot days with strong sun makes me stay in the house more with air-conditioning on. Totally opposite to other people who enjoy the sun and swim at the beach. I get sunburn pretty easily. Even walking around with sleeveless top during the day does enough for me. I remember when we did a walking tour for a few hours in Sydney, no matter how much I tried to hide from the sun and stayed in the shade, I got sunburn on my shoulders and neck. Ah so painful when you have a shower and put the clothes on >.<

Zebra cakeMy dear friend who has two little boys always takes them to either a swimming pool or the beach on the weekend so that kids can play in the water. Daniel and I decided to join them to Mettam’s pool beach tomorrow morning. I was thinking of making some snacks for the boys (always hard to come up with something for kids since they are fussy eaters). I’ve seen some photos of Zebra Cake on the internet before. I thought it would be perfect for them cause it looks fun as well as tastes good. Zebra patterns might look a little daunting and hard to make, but trust me, they are not at all.

Ingredients
100g Self-raising flour
1 teaspoon of baking powder
50g brown sugar
1 table-spoon of coconut oil
150g milk
2 eggs
1 teaspoon of vanilla extract
2 teaspoons of cacao powder

Firstly beat eggs and sugar until the mixture is pale in colour. Add milk and coconut oil and continue beating. Then add sifted flour, baking powder, vanilla extract into the mixture. The batter should be soft and runny otherwise add more milk or flour to get the right consistency. Divide the mixture to two portions. Add cacao powder to one portion. Now a fun bit starts! Put two table spoons of batter into the centre of the baking pan, alternating vanilla batter and cacao batter on top of each other. The batter will spread itself to the edge of the pan and create nice rings. Bake in the preheated oven (180) for 40-50 minutes.

Chocolate Beet Cake

Then my second baking started to make something for my morning/afternoon snack. My choice is GF Chocolate Beet Cake! There is no technique required in this cake. Just mix all ingredients and bake in the oven. I already finished a slice with a cup of tea – delicious!

Ingredients
1 cup grated beetroot
4 eggs
1/2 cup of maple syrup
100g coconut flour
1 teaspoon of cinnamon powder
1 teaspoon of ginger powder
a teaspoon of vanilla extract
a pinch of salt

Back to the title… I was busy baking all the cakes this morning. About an hour of baking I was taking the cake out of the oven for a final check. Yes, I was wearing a mitten but somehow I managed to burn my arm. Ouch! Quickly had some cold water running on my arm and put a papaw cream on, but it looks like I’m going to get blisters and probably a nice oven scar. Oh well, it’s not the first time. I think I need a bigger oven?! 🙂