Buckwheat Kale Salad

buckwheat salad
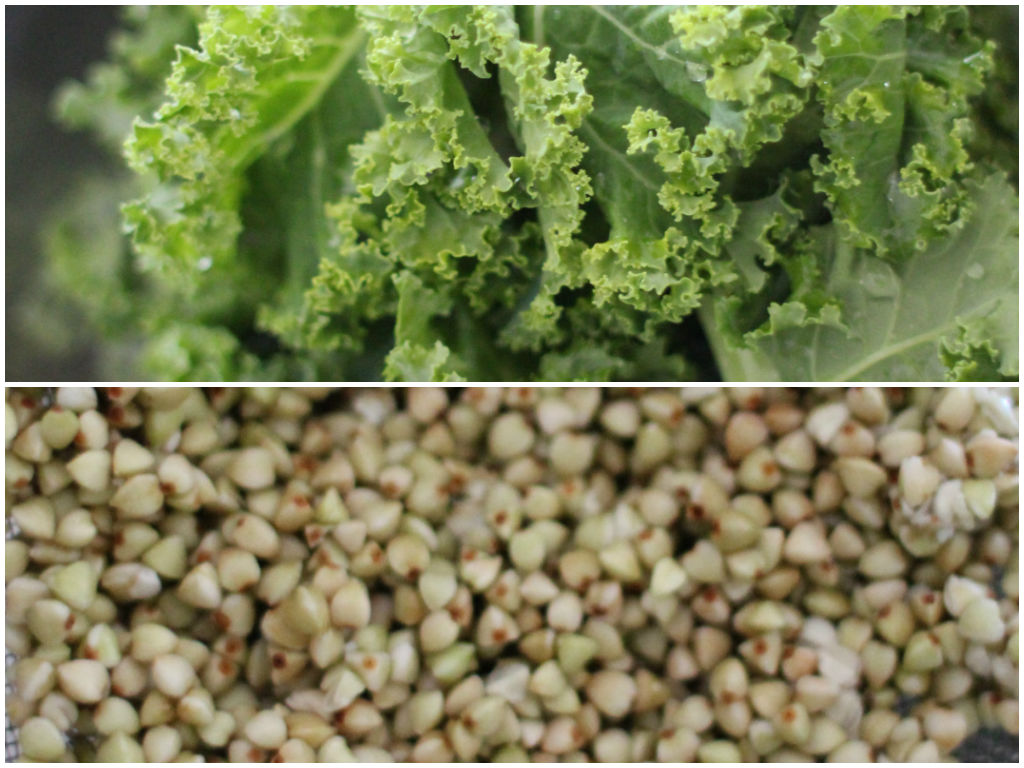
Buckwheat is a triangular shape fruit seed, and comes in raw or roasted. They are gluten free and can also be bought ground into flour for baking. It is so versatile you can use them for porridge, salads, baking, risotto or eat raw after sprouting. They have mild and slightly nutty flavour. Nutritionally, buckwheat contains all eight of the essential amino acids ass well as minerals such as manganese (important for healthy tissue and bones, and hormone function), magnesium (activates enzymes, contributes to energy production, and regulates important nutrients in the body), and phosphorus (builds strong teeth and bones). They are a good source of fibre and can help lower the risk of developing high cholesterol and high blood pressure. The flavonoid rutin in buckwheat is an antioxidant and cancer fighter that helps the body heal.
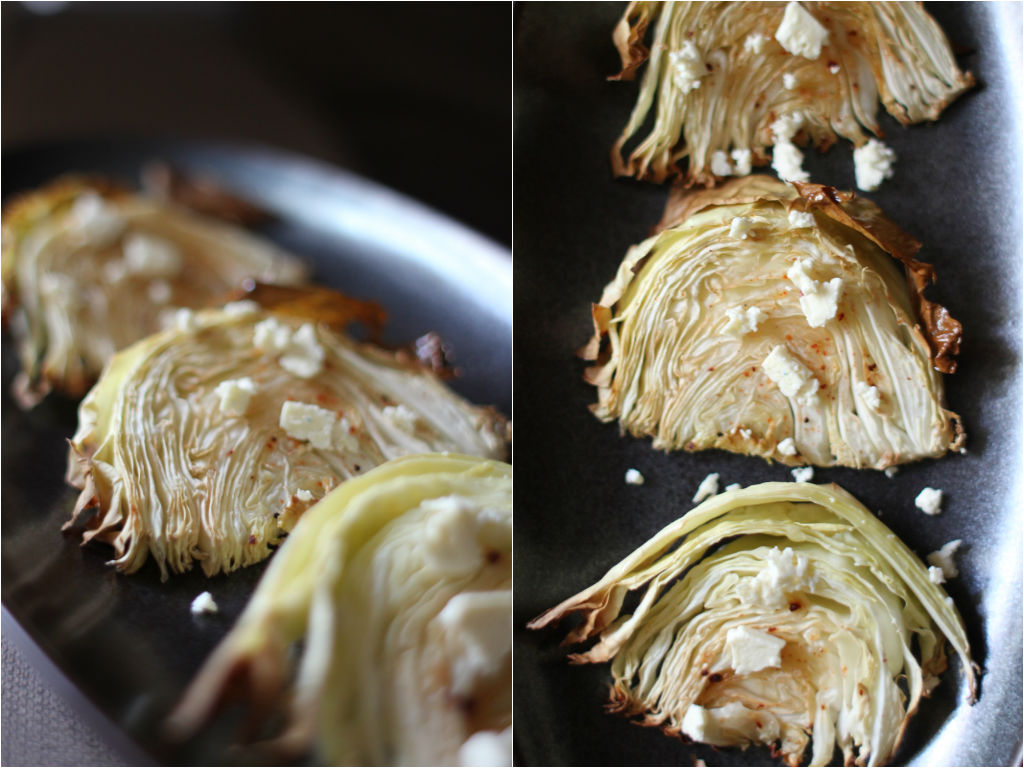
buckwheat salad1Ingredients

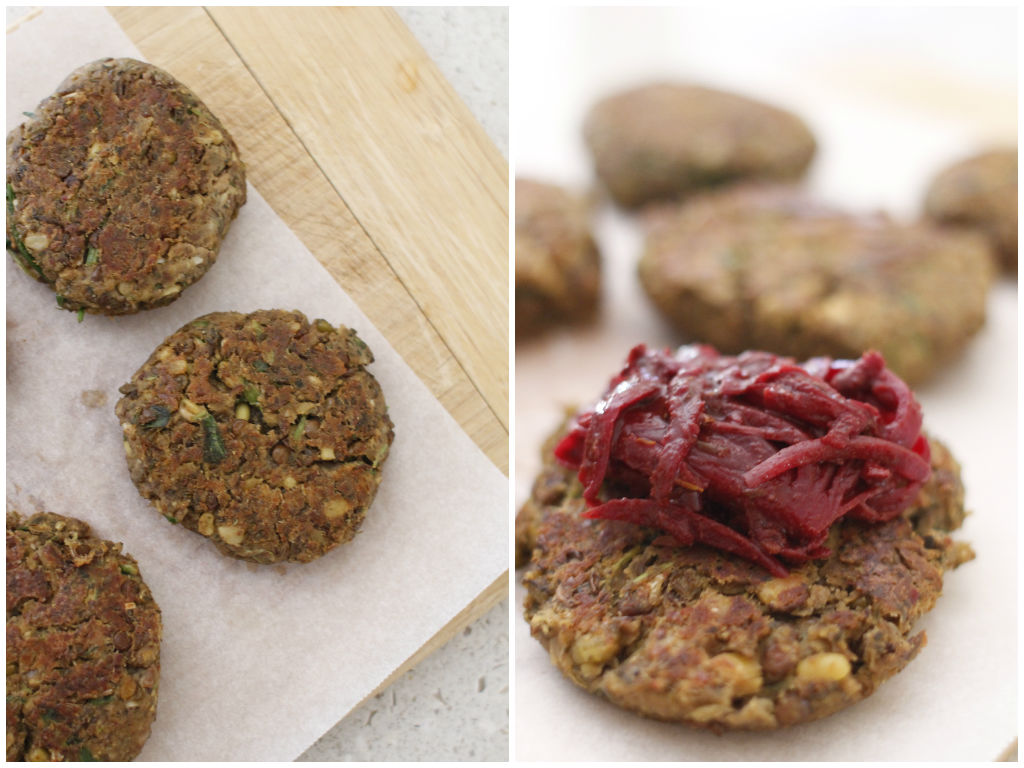
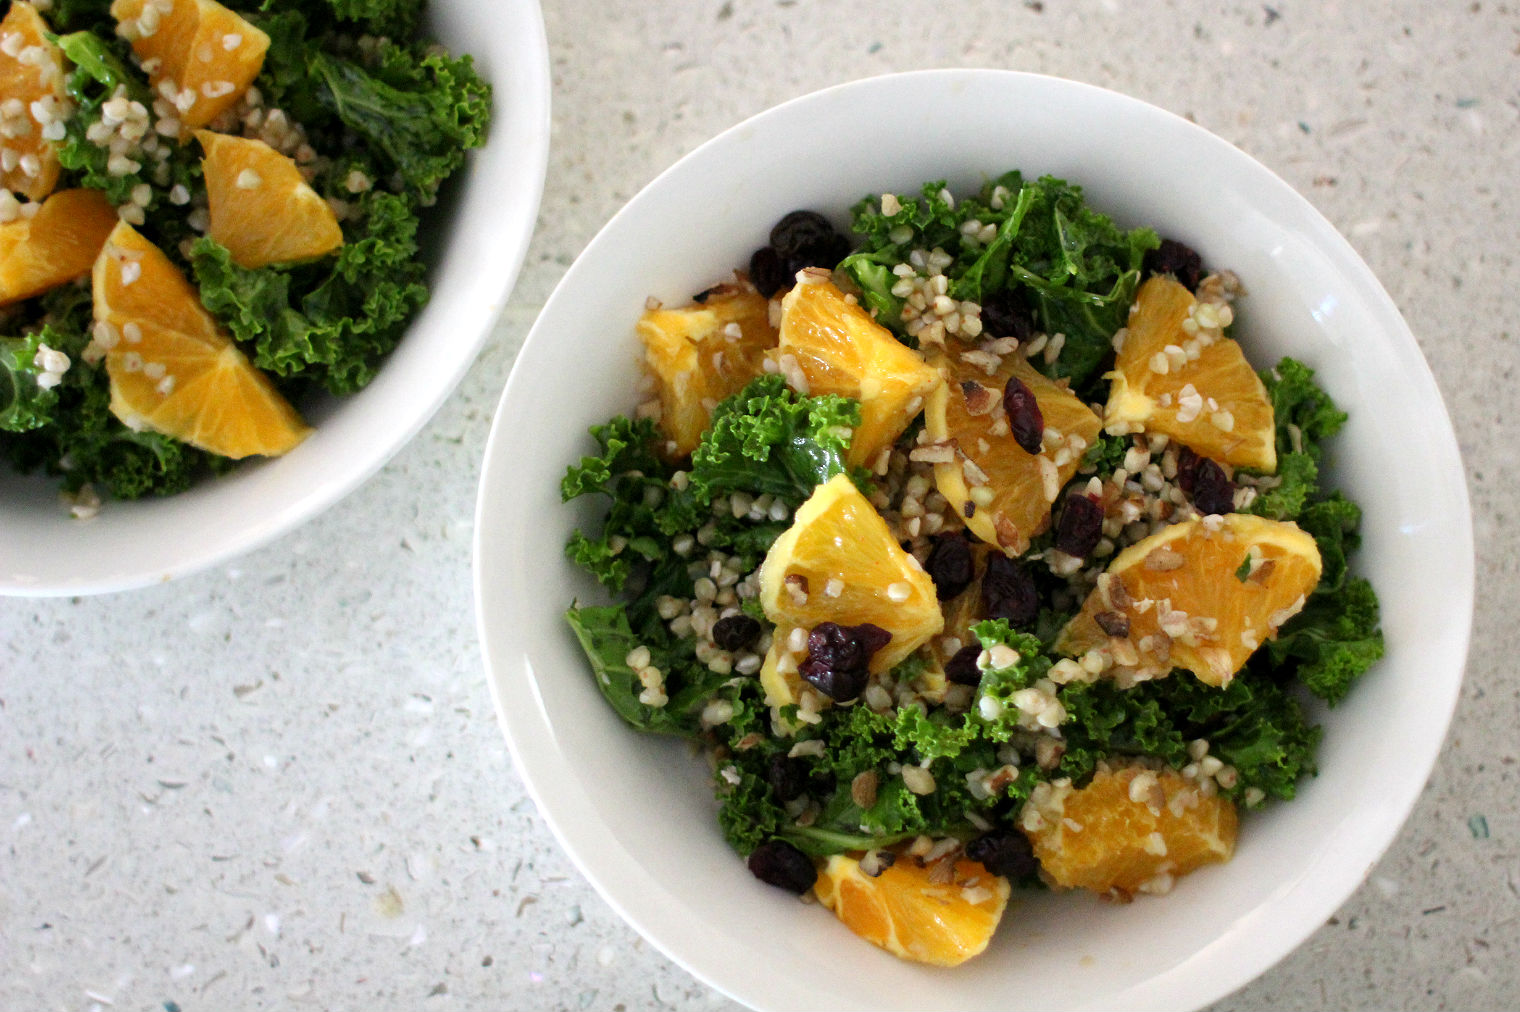
2 cups of massaged kale leaves
1 tsp Himalayans salt
1 tbsp olive oil
1 cup of buckwheat, soaked
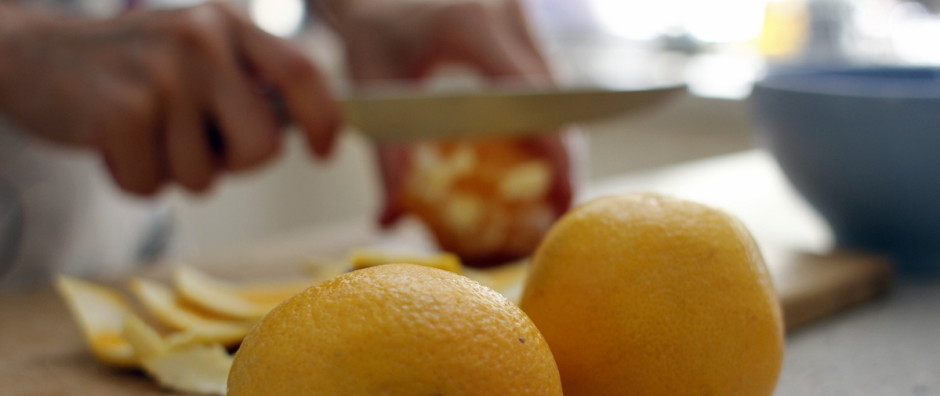
1 orange
a handful of walnuts
a handful of dried cranberries

For soy dressing
1 tsp soy sauce
1 tsp honey
1 tsp sesame oil
a pinch of cayenne pepper
pepper to taste

Rinse soaked buckwheat in a colander thoroughly until water becomes clean. Cover with a plenty of water and bring it up to a boil. Cook for about 10 minutes, turn off the heat and rest for another 10 minutes with a lid on. In the meantime, tear the kale leaves into bite sizes and gently massage with salt and olive oil. Once buckwheat is cooked, drain and set aside to cool. To assemble the salad, combine massaged kale, cooked buckwheat, sliced orange, cranberries and walnuts in a large bowl. Pour half of the dressing into a bowl and gently toss. Transfer to a serving plate and drizzle the rest of the dressing.


Raw Zucchini Pappardelle with Creamy Sauce

Why do I have gluten-free and raw recipes on my blog? If you go back to about me section where I shared my story, I have changed my diet and lifestyle about 5 years ago. My theory is that I lived in Korea until the age of 21 and had mostly Korean diet almost all my life. Then I moved to Australia where all foods including fruits and veggies are grown or processed differently. My body had to adapt to the new environment somehow, so I’ve developed a skin condition and sensitivity to gluten and wheat. That’s the reason why I adapted a gluten-free lifestyle, not because of “diet” (I don’t like a name tag>.<). Let me tell you it is challenging, reading all the labels before I buy anything, eating out and choosing restaurants, traveling, etc. You would understand what I’m talking about if you have allergy, sensitivity or intolerance to gluten. It also takes a long time to get my digestion back in shape as well, once it goes out of wrack. Problem is that we are so exposed to processed and packaged foods these days that contain unnecessary gluten, wheat and preservatives, which don’t do any favour to our body. Gluten free lifestyle has opened up a new world of fresh whole food for me and I got interested in healthy home cooking. And yes, it even got me to start this blog eventually! I’m glad I can somehow share all my knowledge and recipes with you and hopefully help some of you as well if you have same symptoms like me. I’m open to any comments or feedback or questions. So don’t be shy 🙂
cauliflower sauceNow move onto the recipe. I cannot even imagine myself ordering pasta with Alfredo sauce at Italian restaurant. Well, no more dreams of those creamy pasta! because you can make a raw, healthy, gluten-free, vegan version at home. It ticks all the boxes and is totally delicious, too.
zucchini pappardelleIngredients (2 servings)

1 zucchini, ribboned
1/2 tsp of Himalayan salt
1 cauliflower floret
1/2 tsp minced garlic
1 tsp tahini paste
1 cup of unsweetened almond milk
1 tbsp nutritional yeast
a squeeze of lemon
salt and pepper to taste
alfalfa sprouts for garnish

Make zucchini ribbons using a vegetable peeler, sprinkle salt and set aside. Roughly chop cauliflower and put in a saucepan. Add garlic, tahini, nutritional yeast and milk in and gently simmer until cauliflower is tender. Transfer the mixture into a blender and blend until the sauce is thick and creamy. Add a bit of water if too thick. Season and add a squeeze of lemon. Taste the sauce and adjust if necessary, more tahini? nutritional yeast? salt? Squeeze the zucchini ribbons to remove excess water and transfer to a serving plate. Pour the creamy cauliflower sauce over the zucchini ribbons and garnish with alfalfa sprouts on top.
Zucchini pappardell1


Gluten-free, Potato-free, Healthy Polenta Chips

The change in temperature has given me an opportunity to cook some robust warming food that I’ve had in my mind during hot summer. Yes, making casseroles, stews and soups and baking! That’s why my oven has been so busy every day.

Polenta is grounded corn meal – both gluten-free and wheat-free. It is rich in carbohydrates and insoluble fibre, low GI (stabilising your blood sugar level) and contains a good range of vitamins and minerals. It is so versatile to use. When you cook in a pot and serve immediately, it is like mashed potatoes, a creamy base for stew or casserole. Then it transforms to a hard block when it’s set in the fridge. You can cut into little cubes, pan-fry and add into your salad, just like croutons. You can also cut into squares or rounds, add your favorite toppings and make gluten-free crostini. Or you can cut into strips and make this healthy oven-baked polenta chips.

How to cook? I add a cup of polenta in a sauce pan and pour 4 cups of water. Turn on the heat, bring it up to a boil, simmer over low heat for 20-30 minutes. You need to keep stirring making sure there is no lumps, and add a bit of more water if the mixture is too thick. Don’t forget to season or add some flavours such as using stock or milk instead of water, adding grated Parmesan cheese and adding in some herbs.

It is actually not as hard as it sounds. You just need to get the consistency and seasoning right. Once it is cooled down and set in the fridge, take it out and cut into little strips. Season and spray some oil. Bake in the oven for 20-30 minutes, flipping half-way through. It should be golden brown outside and fluffy inside. As the baking process drives moisture from the polenta, the flavour will be more concentrated and corn-y.

It is a healthy alternative to normal deep fried potato chips at your dinner table. Also a great afternoon snack when you feel like something but not quite dinner yet. Or serve as a savoury nibble when your guests arrive at the dinner party? Serve with herb-y salt like rosemary or sage, tomato-chili sauce, chive-cottage dip, or sun-dried tomato humus.
Polenta Chips

Roasted Cabbage Salad

How can something simple like this be so tasty? I’m talking about a cabbage roasted in the oven with a drizzle of oil and salt and pepper. Crispy, caramelised, smokey flavour on the edges of the cabbage and in contrast, buttery and sweet inside. It is not only inexpensive and super simple to make but also does all good things to your body.

Cabbage is a powerful antioxidant and an abundant source of vitamin C (actually richer than oranges) and vitamin K (good for your bone health). It also contains a good amount of minerals like potassium important for controlling heart rate and blood pressure, manganese, iron, and magnesium. Cabbage has a number of anti-cancer compounds, like lupeol, sinigrin, and sulforaphane, which are known to inhibit the growth of tumors. It is often used as a treatment for constipation, stomach ulcers, headaches, obesity, skin disorders, eczema, jaundice, scurvy, rheumatism, arthritis, gout, eye disorders, heart diseases, aging, and Alzheimer’s disease.
Roasted CabbageIngredients

1/2 cabbage
1/2 lemon
1/2 tsp of smoked paprika
1 tbsp coconut oil
salt and pepper to taste
1 tbsp of olive oil
crumbled feta for garnish

Place wedged on a baking sheet. Toss with coconut oil, smoked paprika and season with salt and pepper. Roast in the preheated oven (200) for 30-40 minutes until the edges of the cabbage is golden brown. Remove from the oven and transfer to a serving plate. Squeeze a lemon over the salad. Sprinkle crumbled feta and drizzle olive oil for garnish.

Vegetarian Lentil Burger

lentil burgerHave you ever tried packaged vegetarian burgers from the supermarket before? I have. I don’t know what I was thinking. It was horrible, overly salty and mushy. In fact, making your own at home is damn easy and a lot healthier. The secret to making a good vegetarian burger comes from the patties. This lentil burgers with lots of flavours using spices, herbs and nuts are, I guarantee, as good as or better than the meat patties. It is gluten-free, vegetarian and vegan-friendly. You can make a big batch and freeze them as well. Great for easy light dinner on weeknights and also quick lunch on the weekends. It is up to you having it with salads, putting in the wraps or buns, adding poached eggs or smashed avocados on top. I topped with caramelised beetroot and onion and served with simple green salad. It is all delicious!

lentil burger1Ingredients (6 little patties)

100g dried lentils
200g mushrooms
1 tbsp brown rice flour
1 tbsp tahini paste
1 egg
1 tsp minced garlic
1/2 tsp chili flakes
1 tsp cardamom
1 tsp cumin seeds
1 tsp dried thyme
1 tsp Himalayan salt
1 tsp grounded pepper
handful of flat leaf parsley
handful of mint leaves
a handful of pine nuts

Rinse and cook lentils in a boiling water for 20-30 minutes until cooked and tender. Rinse and drain. Put cooked lentils and all other ingredients in your food processor and pulse until all combined. Season to taste. Cover and put the mixture in the fridge for 30 minutes to set. If the mixture is too wet, add extra flour in. If too dry, add a bit of water or extra egg. Taste the mixture to adjust the flavour, as well. Take it out of the fridge, shape the mixture into little discs. You can either pan-fry with coconut oil or bake in the oven until golden brown.