World of Scones

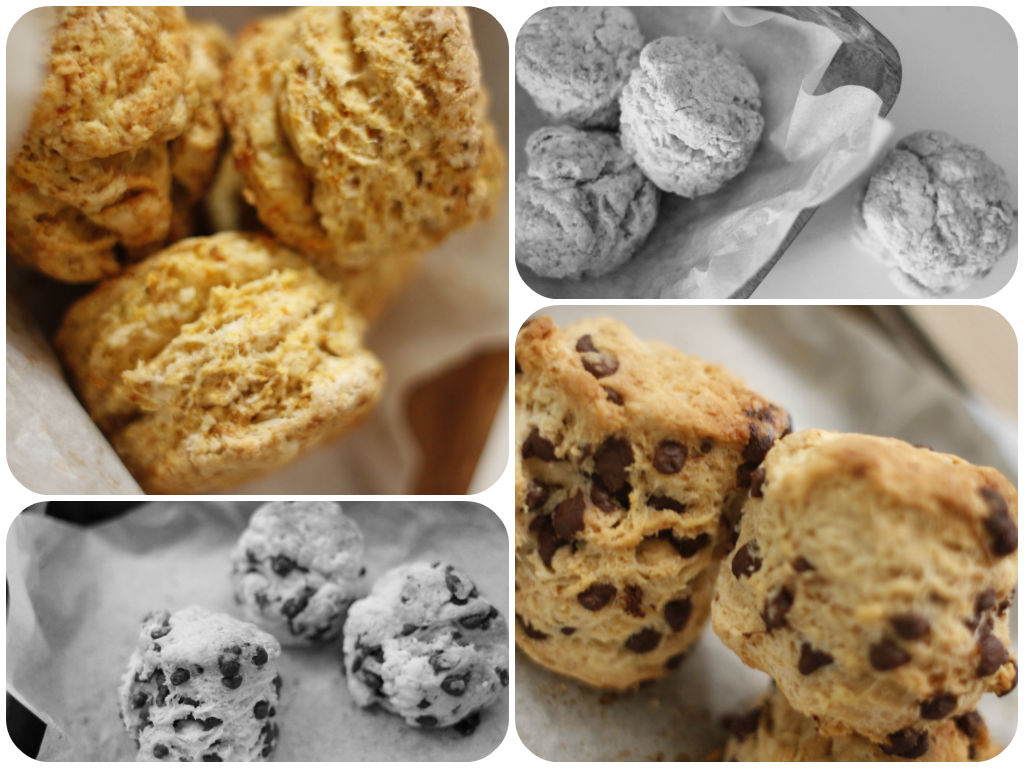
SconesI wasn’t familiar with scones until I came to Australia. I remember I tried them at my Pilates teacher’s house a few years back. It was a weekend private course at her house to become a Pilates instructor. She had a beautiful townhouse in Fremantle overlooking the ocean. Her husband was babysitting their grand-daughter during the day. She was so shy saying hi behind her grandpa’s legs and ran away from us. Then about 4pm-ish, we were a bit sluggish after hours of learning and overwhelmed by so much information in so little time. Wanting to have some sugar-kick! This little girl came into the room with a little basket of scones and, of course, jam and cream on the side. She told us she made them for us with a shy smile. How cute! We all sat around the fireplace (it was winter time!) and shared a little scone with her. It kind of looked and tasted like KFC biscuits when I tried it for the first time. Rich buttery taste and soft fluffy inside. It reminded me of the cornmeal bread I used to like when I was little. I’ve tried to bake scones at home several times since then. Sometimes it turns out to be okay, but other times it doesn’t rise, fail! I didn’t realise how hard making scones is. It definitely got harder since I need to make a gluten-free version now, too. My tips for making good scones are…

  • Firstly, use cold butter. Yes, butter. It is better to use butter in scones than coconut oil. As it melts into the dough in the oven, it creates beautiful layers.
  • Add a knob of cold butter into dry ingredients and cut into little pieces with your knife or fork. Then start massaging with your fingers until the dough comes together.
  • Don’t work your dough too much. Otherwise scones will not rise because kneading converts the protein in flour to gluten.
  • Gently fold the dough in half and in half again, a few times to get flaky and layered scones.
  • Don’t pat the edges of the scones after cutting them.
  • Bake them for a short time in high heat. I bake for 15-20 minutes in the 200 preheated oven and take them out to cool.
  • If you have any other tips, please share with me 🙂

Ingredients (make 8 little scones)

2 cups of gluten free flour blend
1 teaspoon of baking powder
a pinch of salt
1 teaspoon of vanilla extract
2 teaspoons of brown sugar
1 teaspoon of cold butter
1 egg
1/4 cup of milk*
1/2 cup of dark chocolate chips for chocolate chip scones
1/2 cup of cooked pumpkin for pumpkin scones

*You might need more or less milk depending on what flour you use and how moist your pumpkin mixture is.
Berry Chia Jam

Berry Chia JamChia is a species of flowering plant in the mint family native to central and Southern Mexico and Guatemala. These seeds are such an incredible power house because they are….

  • gluten free, vegan friendly
  • packed with omega 3 fatty acids good for the brain and heart. 8 times more omega 3 than salmon!
  • high in anti-oxidants. 4 times higher ORAC value than blueberries.
  • a complete protein with all 8 essential amino acids.
  • 5 times more calcium than milk
  • 7 times more vitamins than oranges
  • 3 times more iron than spinach
  • twice the potassium content than banana
  • twice the fibre than oatmeal
  • stabilise blood sugar levels

These little seeds are so amazing! Then how much do you need daily? A teaspoon (15g) with heaps of water because it is high in fibre and has a gelatinous nature. You can sprinkle on your breakfast cereal/ granola/ porridge, used when baking (great egg replacement), mix with water or smoothie and make a jam like me.

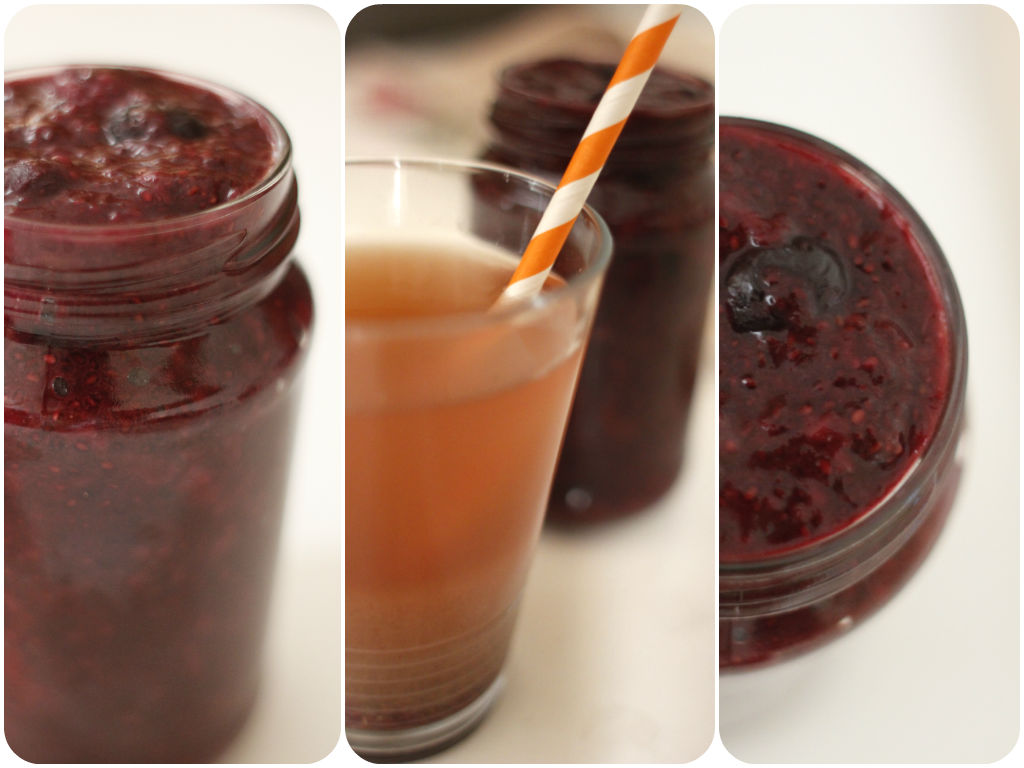
To make a one big jar of berry chia jam, I used 300g frozen mixed berries, 100g maple syrup, 30g chia seeds and a teaspoon of vanilla extract. Put all ingredients in a small pot and simmer for 20-30 minutes until it thickens. You can add more sweetener if you have a sweet tooth. Cool it down and transfer to a jar. Keep it refrigerated and consume within a week. Home-made jams are awesome. It is such an easy way of making a jam and so healthy since you don’t use preservatives and refined sugar. You can use any kind of seasonal fruits. Banana, mango, nectarines, plums, kiwi fruits, etc. It is beautiful over a slice of toast, pancakes, scone and muffins. I also put a teaspoon of this jam and maple syrup into a glass of soda water to make a refreshing summer drink.

Kimchi Tacos

When Daniel and I went to New York last year, we tried mini Kimchi tacos from the street food festival near Flatiron building. I think it was Friday afternoon. We were walking down on the way to Eataly, an awesome food market and restaurants. At the food festival, people were chilling out with good food and wine. Beautiful weather, smell of grills, a bit of music.. We just couldn’t pass there. Americans are more familiar with Korean cuisine, especially Kimchi, than people here in Australia. I quite like their own spin on Korean traditional food. It can be a cheap, grab and go style from food trucks or modern Michelin-starred restaurants. We went to a couple of Korean reastaurants in New York, called “Danji” and “Prime and Beyond”. Awesome food! “Danji” offers a tapas style of modern Korean foods. “Prime and Beyond” is more focused on the dry-aged and wet-aged good quality steak with a Korean flavour. I wish this Korean food trend comes here to Australia one day. What will be like..Korean-Australian fusion?

Tacos were not really my thing, well Mexican foods in general. After seeing deep-fried tortillas, heaps of cheese and sour cream, refried beans (did you know this? it is cooked in lard), and don’t forget a pina colada, there is no wonder why I feel so heavy and head-achy after having those foods. I’m sure you can make healthier choices at the restaurant, but only my way of cooking makes my tummy happy (yes, I am quite picky when it comes to eating out and don’t think I will change. Sorry Daniel!). It is my first time making Kimchi tacos at home. You can make it absolutely vegan, vegetarian, gluten-free, so many options!
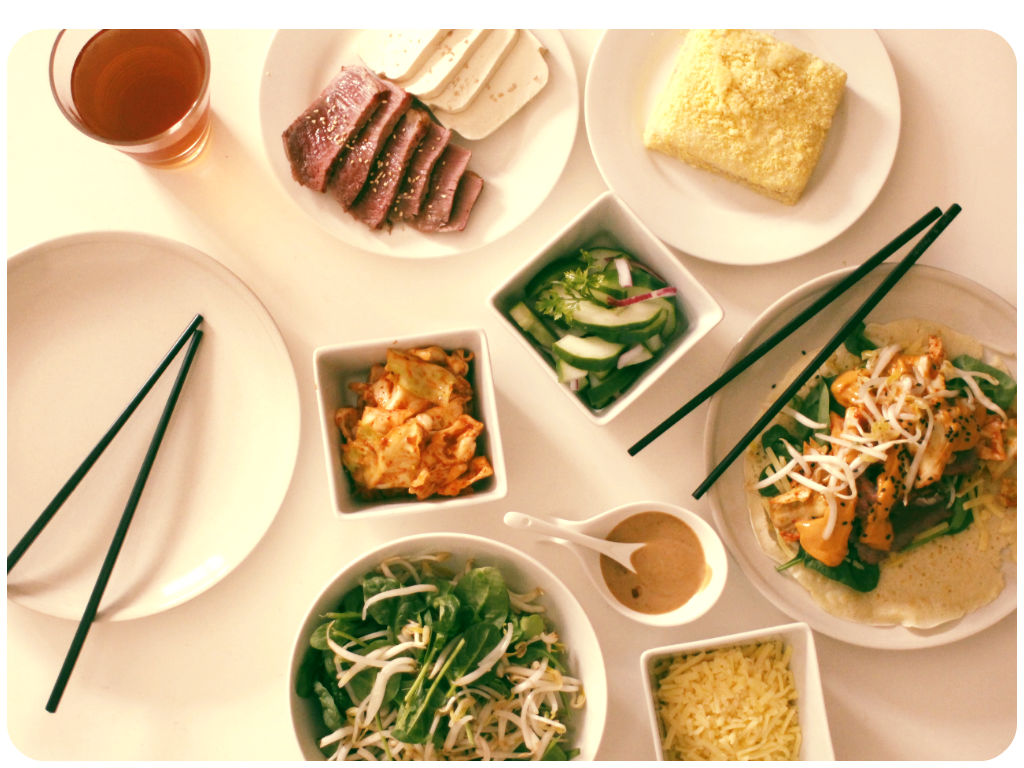
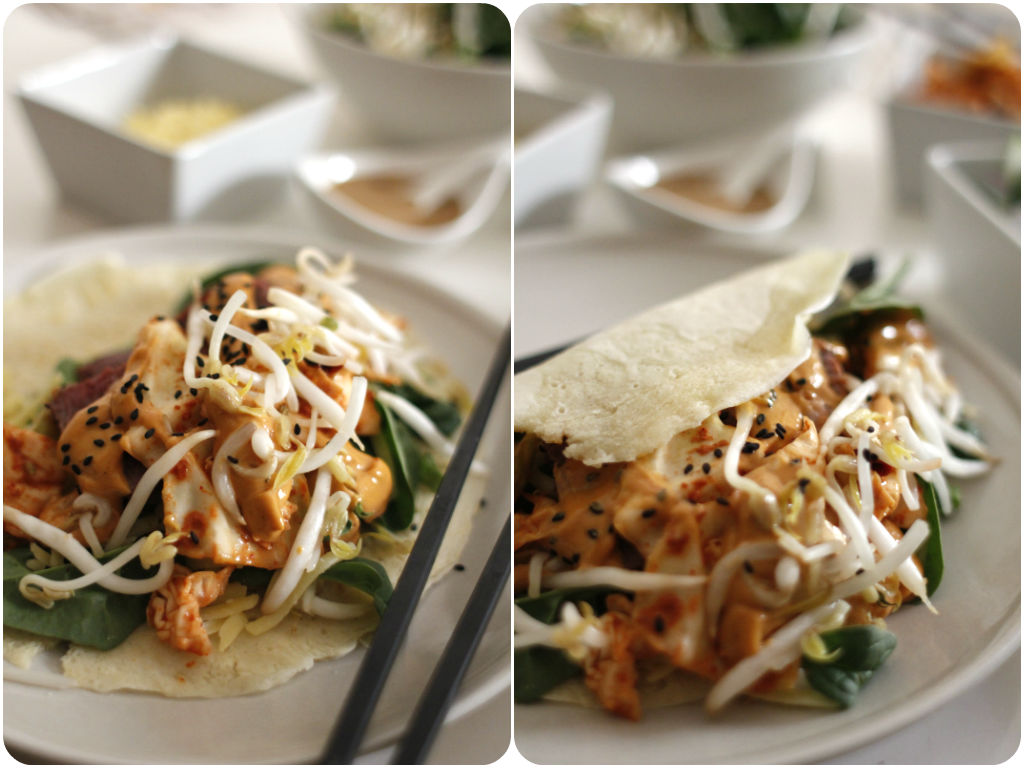
Kimchi TacosIngredients

For the tortillas
100g of rye flour
100g of rice flour
1 teaspoon of dried yeast
a teaspoon of salt
warm water

For the fillings
home-made Kimchi
pickled cucumber (sliced cucumber, red onion and parsley pickled in white wine vinegar)
spinach salad
bean sprouts
grated low-fat cheese
roasted beef for Daniel
tofu for me

For miso crema
1 teaspoon of tahini
1 teaspoon of Doenjang paste
1/2 teaspoon of minced garlic and ginger
1 teaspoon of white wine vinegar
a touch of cayenne pepper
a teaspoon of sesame seeds
a bit of water if too thick
add some chilli flakes if you are ambitious!
Kimchi Taco

Korean Veggie Pancakes

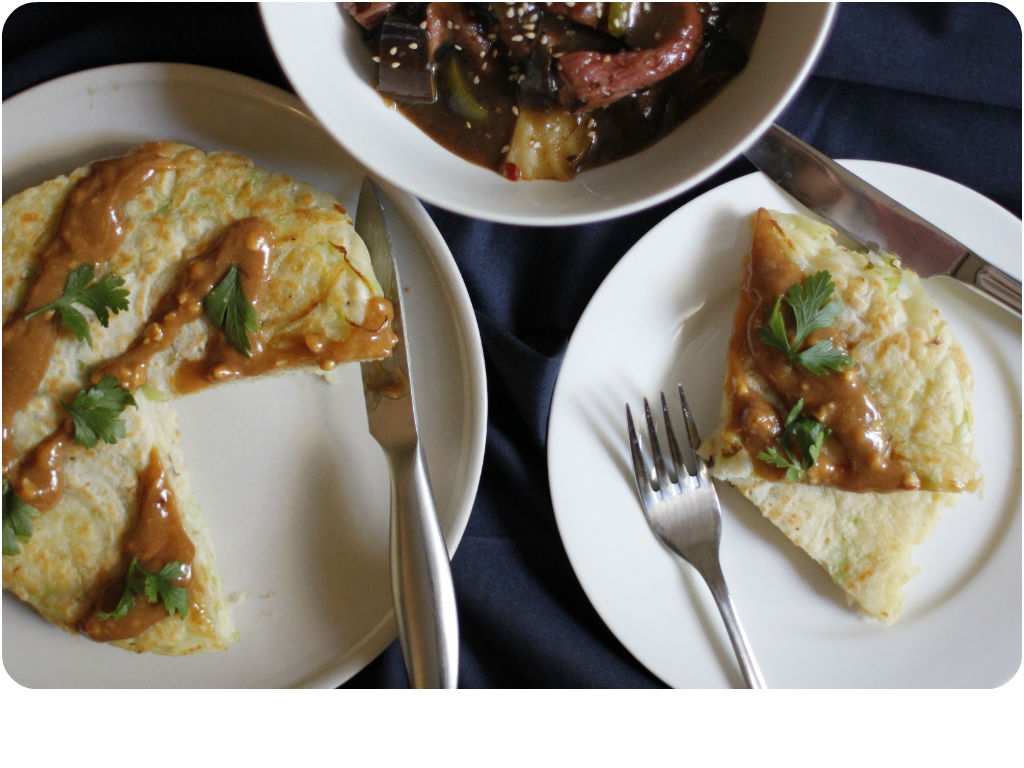
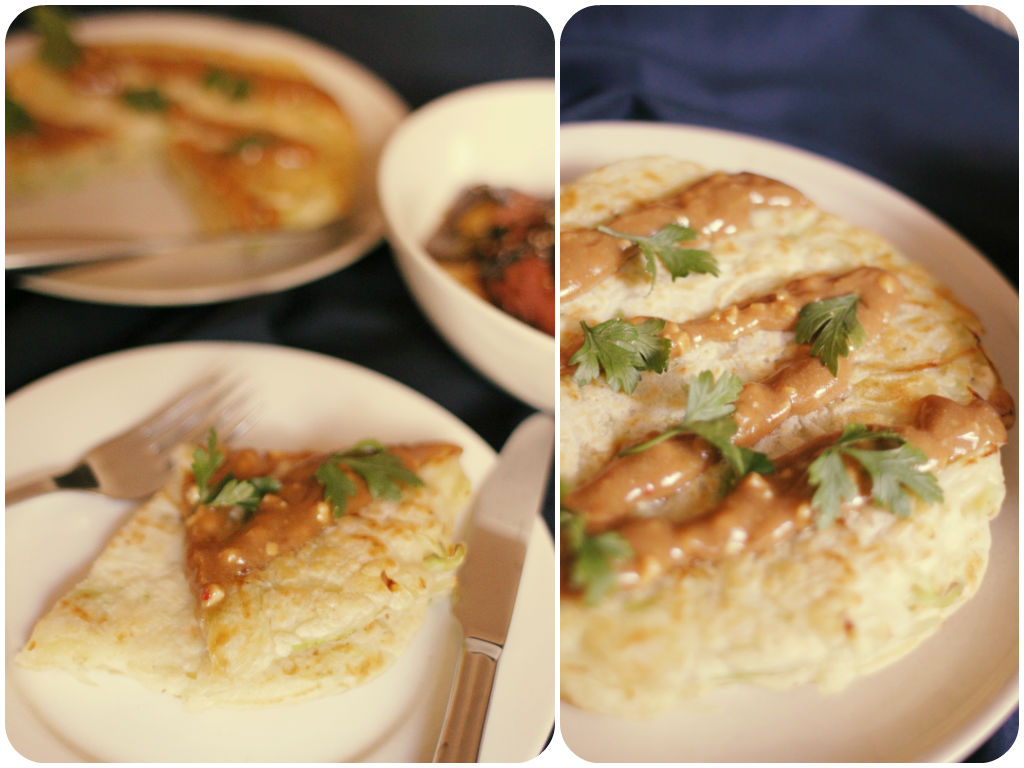
Korean pancakesI don’t know why, but Koreans make veggie or Kimchi pancakes on a rainy day or when drinking a rice wine. I don’t think there is a reason for it. Someone told me because the smell of cooking food goes around more easily when raining, so one house starts making Kimchi pancakes, then neighbors kind of feel like one, and so on. I think you just do because you grew up with it. General term for this pancake is “Jeon” in Korean, and depending on what you use, the jeon name commonly follows its main ingredients. It can be made either sweet or savoury. Great for a breakfast, snack, appetizer, side dish or even dessert!
Korean pancakes2

Ingredients (2 big pancakes)

1 cup of shredded green cabbage
1/2 thinly sliced onion
1 cup of bean sprouts
1 grated potato
1 cup of flour (you can use rice flour or buckwheat flour for gluten-free version)
1/2 block of tofu
1 egg
water
salt and pepper to taste

Mix egg, water and flour in a mixing bowl to make a pancake batter. Then add other ingredients into the batter. It should be slightly runny so that you can make thin pancakes. Heat a pan on medium heat, add a teaspoon of coconut oil and pour the batter in a thin layer. Cook for 3-5 minutes each side until nice and golden. Traditionally it is served with a soy sauce, but I made a tahini dressing today. Mix a teaspoon of tahini paste, a teaspoon of soy sauce, a teaspoon of white wine vinegar and a teaspoon of honey. Drizzle over the pancake before serve.

Smoked Chicken with Raw Coleslaw

Chicken SaladI’d love to try to smoke a whole chicken at home one day, but well I took an easy way today and bought this little browned bird from the shop.

Ingredients

Shredded smoked chicken
1/4 shredded green cabbage
1 carrot
1/4 red onion
handful of parsley
1 cup of green salads

1 teaspoon of tahini paste
1 teaspoon of white wine vinegar
1 teaspoon of dijon mustard
salt and pepper to taste

To make the salad, I mixed shredded green cabbage, carrots, red onions and parsley, green salads with a tahini dressing. For the dressing, mix tahini paste, white wine vinegar and dijon mustard. Shred the smoked chicken and mix well with the coleslaw salad. The smoky flavour from the chicken and refreshing crunchy salad marries very well. You can definitely cook your own chicken either grilling or poaching for a healthier option. Leftovers? Put in your lunch box! It will be a great filling for sandwich or wraps next day. Enjoy it in moderation because a cured or smoked meat contains a high amount of sodium and fat.